Hey girl, if your place is anything like mine was last month – total chaos with stuff everywhere – you’re gonna love these DIY storage boxes for beginners. I finally tackled my craft corner explosion, and let me tell you, simple boxes changed everything. No more digging through piles!
This article’s here because I scoured Pinterest for the easiest ideas that even a total newbie like me could nail on a Sunday afternoon. Last weekend, I grabbed some cardboard and tape, and boom – organized bliss without spending a dime. Trust me, if I can do it half-asleep with coffee, you got this.
Stick around for 10 top DIY storage boxes for beginners that’ll tidy your home fast. You’ll get step-by-step inspo, my messy real-talk stories, and tips to make ’em last. Your space is about to level up!
10 DIY Storage Boxes for Beginners That’ll Tame Your Clutter
Quick Cardboard Box Tape-Up
Okay, this one’s literally grabbing a cardboard box, some tape, and scissors – beginner heaven. I did this exact thing for my desk drawers last week, and it held up surprisingly well even after I stuffed it with markers. You’ll feel like a pro in under 10 minutes, promise. Side note: my tape got stuck to my jeans, classic me.
Stacked Cardboard Organizers
Stacking plain cardboard boxes like this creates instant shelf magic for any room. I turned a pile of old shipping boxes into pantry towers, and now my snacks are actually findable – game changer. Try labeling them with washi tape for that cute touch; mine say “chaos control” because, well, accuracy.
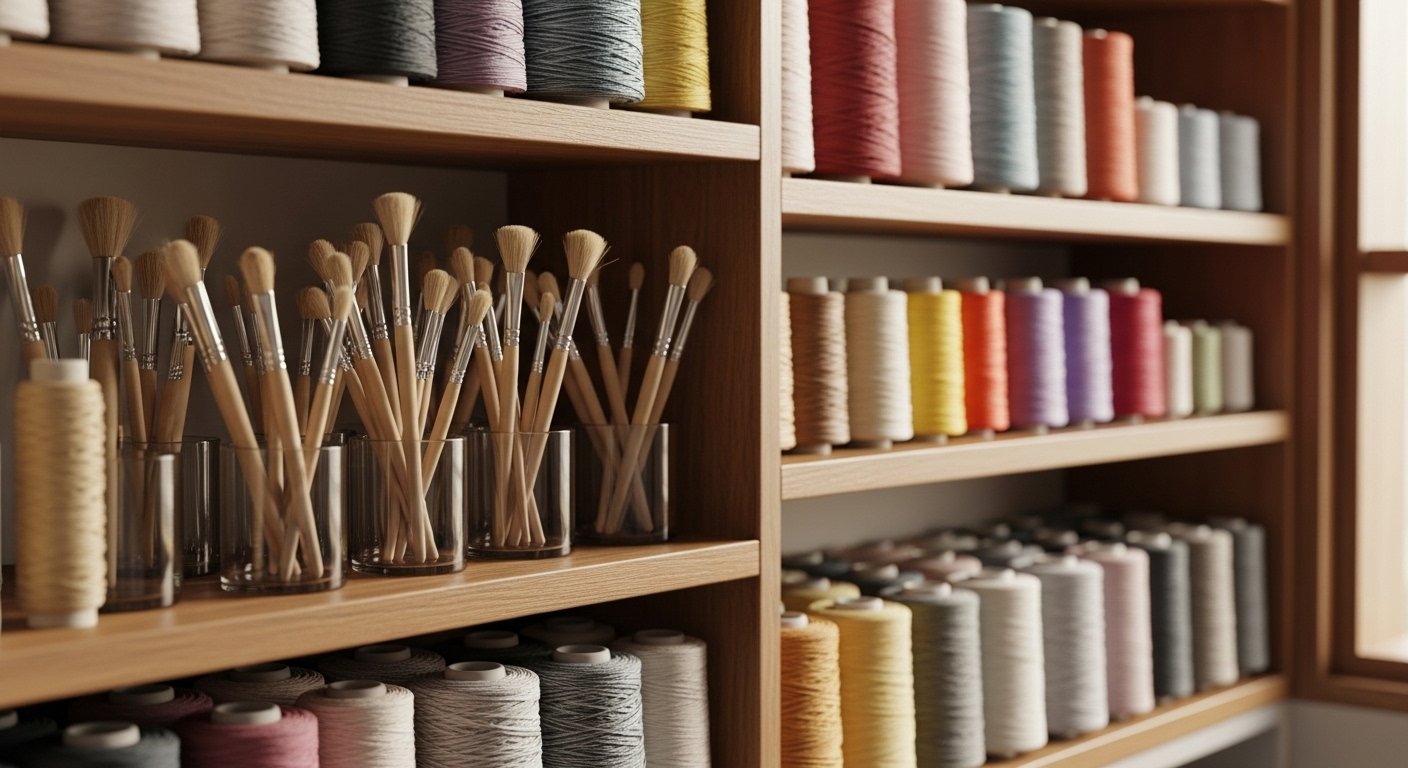
Crochet Yarn Baskets
These crocheted baskets are perfect for yarn or small toys, super soft and squishy. My first attempt was a lumpy mess (grandma would laugh), but it still works great on my bookshelf. If you’re crafty at all, grab some rope and a hook – you’ll be hooked, pun intended.
Floor Box Unpack Hack
Opening and repurposing a simple floor box for storage? Yes please, especially for seasonal swaps. I used this method when decluttering my closet – shoved winter scarves right in, no folding drama. It’s the laziest genius move for beginners.
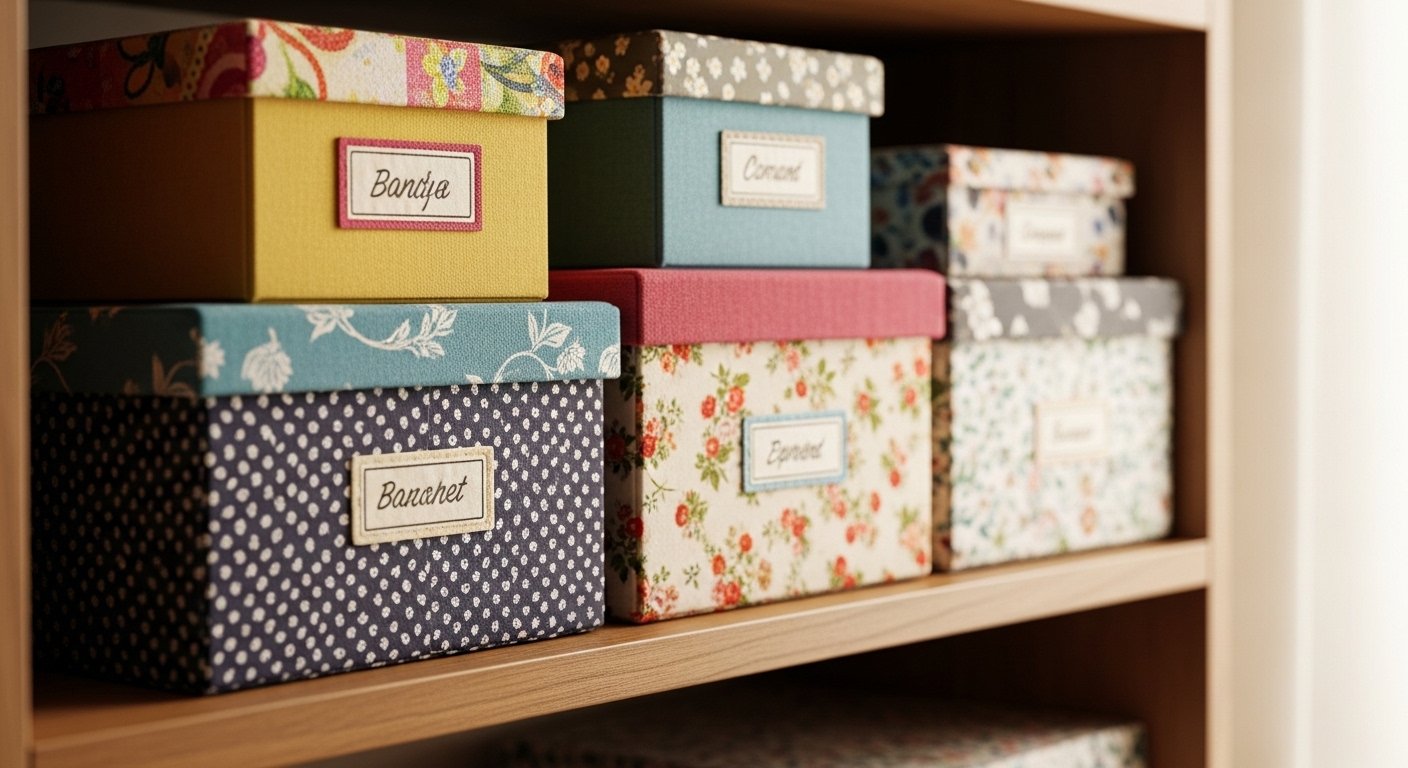
Paper-Wrapped Box Cover
Wrapping a box in pretty paper makes it look store-bought, and cutting is a breeze. Did this for my bathroom vanity with leftover gift wrap – hid the mess, matched my tiles perfectly. You can do a whole set while bingeing your fave show; mine survived a toddler visit, barely.
Open Wooden Table Box
This open box on a table screams easy access for daily essentials like keys or remotes. I made one from a cereal box liner and glued it down – held my mail for months. Perfect for kitchens; add dividers with cardboard scraps for extra oomph.
Green Handheld Storage Pod
Holding this cute green box shows how portable DIY can be – great for desk or travel. Mine’s stuffed with earrings now, and I painted it with craft acrylic for fun. Beginners, start with foam board and hot glue; it’s forgiving if you mess up the edges like I did.
Marked Open Box Guide
That red circle marks where to cut or fold – foolproof for first-timers. I followed a similar template for under-bed storage, slid right under without scraping the floor. You’ll love how customizable it is; I added fabric lining for softness.
Pencil Drawer Cardboard
Turn a cardboard box into a pencil drawer insert – office supply savior. My desk was a warzone until this; pens stay put even when I knock it over (often). Cut to fit your drawer, line with felt if you’re fancy – took me 15 minutes flat.
Tasseled White Table Box
An open box with a tassel next to it adds boho flair to plain storage. I glued tassels from an old scarf onto mine for bedroom nightstand vibes – holds lotions perfectly. So easy, even on a lazy day; the tassel hides any glue goofs.
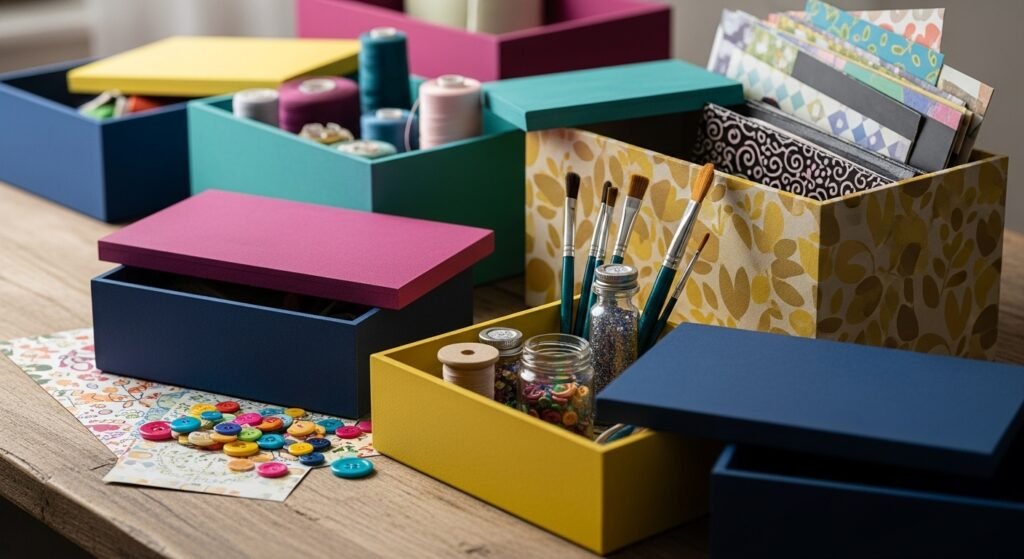
How to Actually Make This Work For You
Listen, starting these DIY storage boxes for beginners is all about grabbing what you have around the house – cardboard from packages, tape from the junk drawer, maybe some paint or paper scraps. Measure your space first so they actually fit, like I forgot to do once and had to trim a whole stack mid-project, oops. Layer ’em up gradually; start with one box, see how it feels, then stack or decorate – that way you don’t overwhelm yourself and end up with more mess. Hot glue is your bestie for quick holds, but let it dry fully or it’ll peel like mine did in the humidity. Oh, and test the weight – these puppies can hold more than you think once reinforced with extra tape inside the flaps.
What materials do I need for beginner DIY boxes?
Super basic stuff: cardboard boxes, packing tape, scissors, and optional paper or paint for prettifying. I always have these on hand from online orders. Keeps costs at zero!
How long does one box take to make?
Five to 15 minutes tops, depending on if you’re decorating. My quickest was taping shut a shipping box in under five. You’ll fly through a bunch in an hour.
Can these hold heavy stuff?
Light to medium – think crafts, clothes, office supplies. Reinforce bottoms with extra cardboard layers like I do for books. For super heavy, buy cheap plastic bins instead.
What if I’m not crafty at all?
No worries, these are no-sew, minimal-cut projects – just fold and tape. Follow the pins step-by-step; my first ones looked wonky but worked great. Practice makes perfect, girl.
These ideas have legit transformed my home from “help” to “hey, I got this.” Imagine your counters clear, shelves neat – all from scraps you probably tossed last week. Which one are you trying first? Drop a comment if you make one; I’d love to see your version. And hey, if your boxes end up cuter than mine, no hard feelings – share the tips! Let’s keep the beginner wins coming.