Hey girl, remember when I first dreamed of adding a DIY island kitchen for beginners to my tiny apartment? It felt so overwhelming, but honestly, that one weekend project totally changed how I cook and hang out. Now my kitchen feels legit spacious – who knew?
I put this together because I was right where you are – scrolling Pinterest at 2am, wanting that island vibe without hiring pros or breaking the bank. Last summer, I tackled my first one with just basic tools from Home Depot, and yeah, there were a few wonky cuts, but it turned out adorable. Trust me, if I can do it, you totally can.
Stick with me through these 15 top DIY island kitchen for beginners ideas, and you’ll snag step-by-step inspo, easy hacks, and my real-talk tips to make your space pop. You’ll walk away ready to grab a saw and get building.
15 DIY Island Kitchen Ideas for Beginners That’ll Transform Your Space
Floor Prep Basics
This shot of flooring mid-install is pure beginner gold – shows you exactly how to level it out before dropping your island in place. I did something similar in my rental, using cheap peel-and-stick tiles, and it made everything feel pro-level. Pro tip: measure twice, or you’ll be ripping it up like I almost did.
Cozy Stool Setup
Love how these stools tuck right under that simple table-turned-island – perfect for breakfast chats. You can snag thrift store finds and paint ’em to match. I added two like this to mine, and now my coffee mornings feel like a cafe.
Oven Island Hack
Whoa, built-in oven on an island? Game-changer for small kitchens. They framed it with basic lumber – super doable if you’re handy with a drill.
Quick Clean Floors
Vacuuming mid-project keeps dust from ruining your finish – learned that the hard way when sawdust got everywhere in my first build. White cabinets like these pair so well with wood islands. You’ll love how fresh it feels after.
Oh, and side note: wear a mask, girl – trust me on that one.
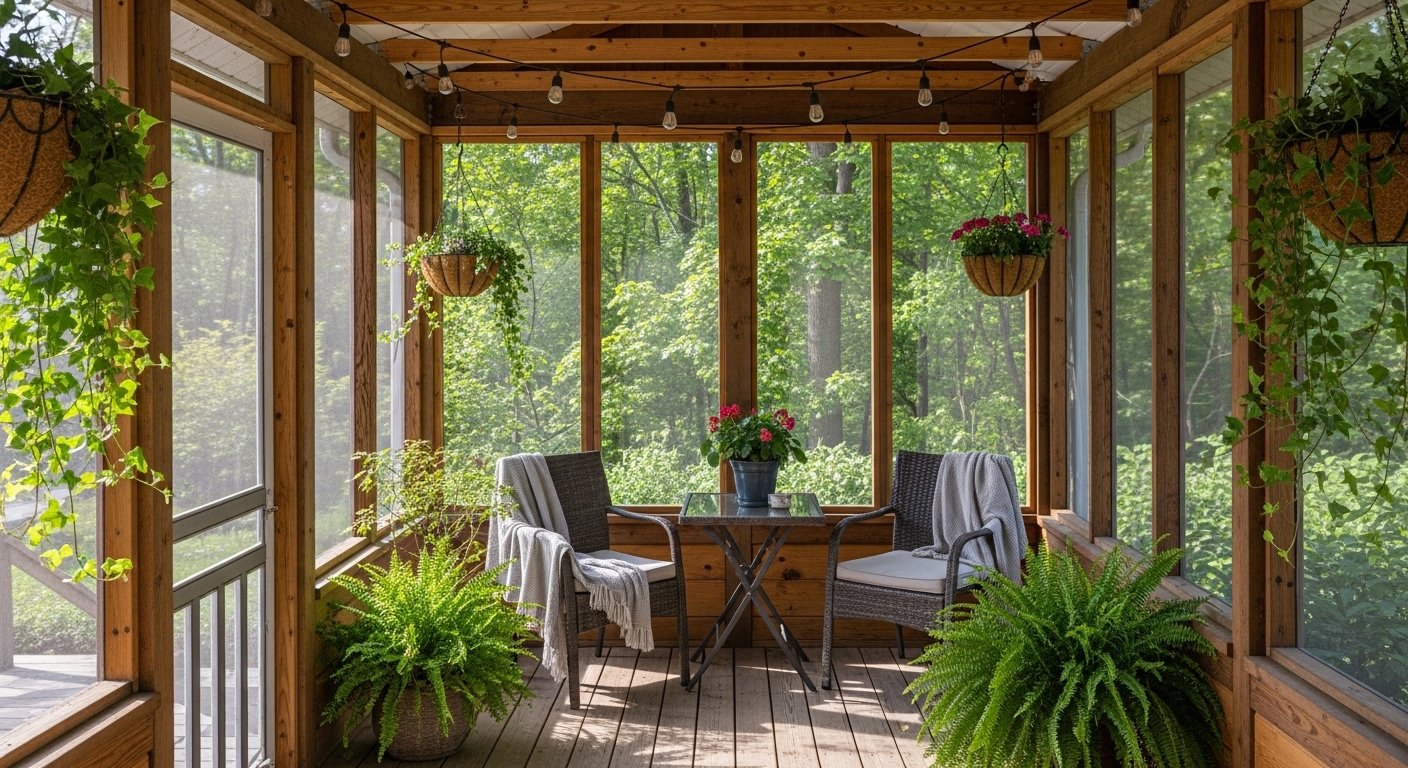
Plant-Topped Island
A cute potted plant elevates any DIY island instantly – mine’s got a fiddle leaf that’s somehow surviving my black thumb. Great for hiding seams too.
Blue Tape Layout
Blue painter’s tape is your bestie for mocking up the island footprint before cutting wood. I taped out three sizes in my kitchen till I nailed it – saved me so much headache. This renovated vibe? Total inspo for renters.
Simple Wooden Table Base
Just a sturdy wooden table in the center – add a butcher block top, boom, island done. I upcycled an old dining table like this for under $50.
Chopping veggies on it now feels fancy, even if it’s a bit scratched from my knife slips.
Spacious Wood Island
This large wooden one with white cabinets screams farmhouse chic. Perfect scale for families – mine’s similar but I added hooks for mugs underneath. You’ll be the host with the most.
Refurb Old Table
Sanding down an old wooden table? Easiest DIY island starter ever. Grab some orbital sander action, stain it dark, and you’ve got character for days. My thrift flip looked this rough at first – patience pays off.
Casual Island Hangout
Shirtless DIY vibes aside, this island’s all about that open kitchen flow. I built mine solo over a weekend – sweaty but worth it for the extra counter space. You can too, promise.
Cutting Board Style
Table with a cutting board on top – instant prep station. Love the cozy feel; I copied this for holiday baking and it was a lifesaver.
Fridge-Side Counter
Wooden countertop next to the fridge makes a slim island perfect for tight spots. Butcher block is forgiving for beginners – seals easy with food-grade oil. Fits my galley kitchen like a glove.
One tiny imperfection: mine wobbles a smidge, fixed with furniture pads.
Pallet Wood Wonder
Pallet wood island in the living room? Bold and budget-friendly. Disassemble pallets (wear gloves!), screw ’em together – I made a mini version and friends thought I bought it.
Bookshelf Island Bonus
Bookshelves under the island for storage plus fruit bowls on top – genius for beginners. I added cookbooks to mine; now it’s functional art. You’ll obsess over the extra space.
Workbench Counter Build
Kitchen counter built and ready as a workbench – shows the framing stage perfectly. Start here if you’re nervous; I used 2x4s just like this and topped with plywood. Game on for your DIY island kitchen dreams.
How to Actually Make This Work For You
Okay, real talk – start by measuring your space like three times, tape out the island footprint with blue painter’s tape, and live with it for a day to make sure it flows with your traffic patterns; I skipped that once and bumped into counters nonstop. Grab affordable lumber from the home store’s misc bin or free pallets from behind stores – sand everything smooth, then seal with a waterproof polyurethane so spills don’t wreck it right away. For stability, anchor legs to the floor if you can (or use heavy-duty brackets), and always add overhead lighting above it for those late-night snack sessions – trust me, it makes the whole kitchen feel pro without much extra cash.
What’s the cheapest material for a beginner DIY island?
Pallet wood or 2×4 lumber from the discount pile – I spent under $100 total. Sand well and stain to hide imperfections. Super forgiving for first-timers.
Do I need power tools for this?
Nope, a hand saw and drill work fine, but a circular saw speeds things up. Borrow from a friend if you’re starting out. Safety first, always unplug.
How do I make it stable without drilling into floors?
Use wide furniture glides or L-brackets on legs – mine’s rock-solid this way. Weight it down with heavy appliances inside drawers too.
Can renters build a temporary island?
Totally – go freestanding with casters for easy move-out. I did this in my apartment and landlord never noticed. Tape outlines first to test.