DIY FURNITURE
Curated DIY decor projects and interior styling inspiration for every room, budget, and style.
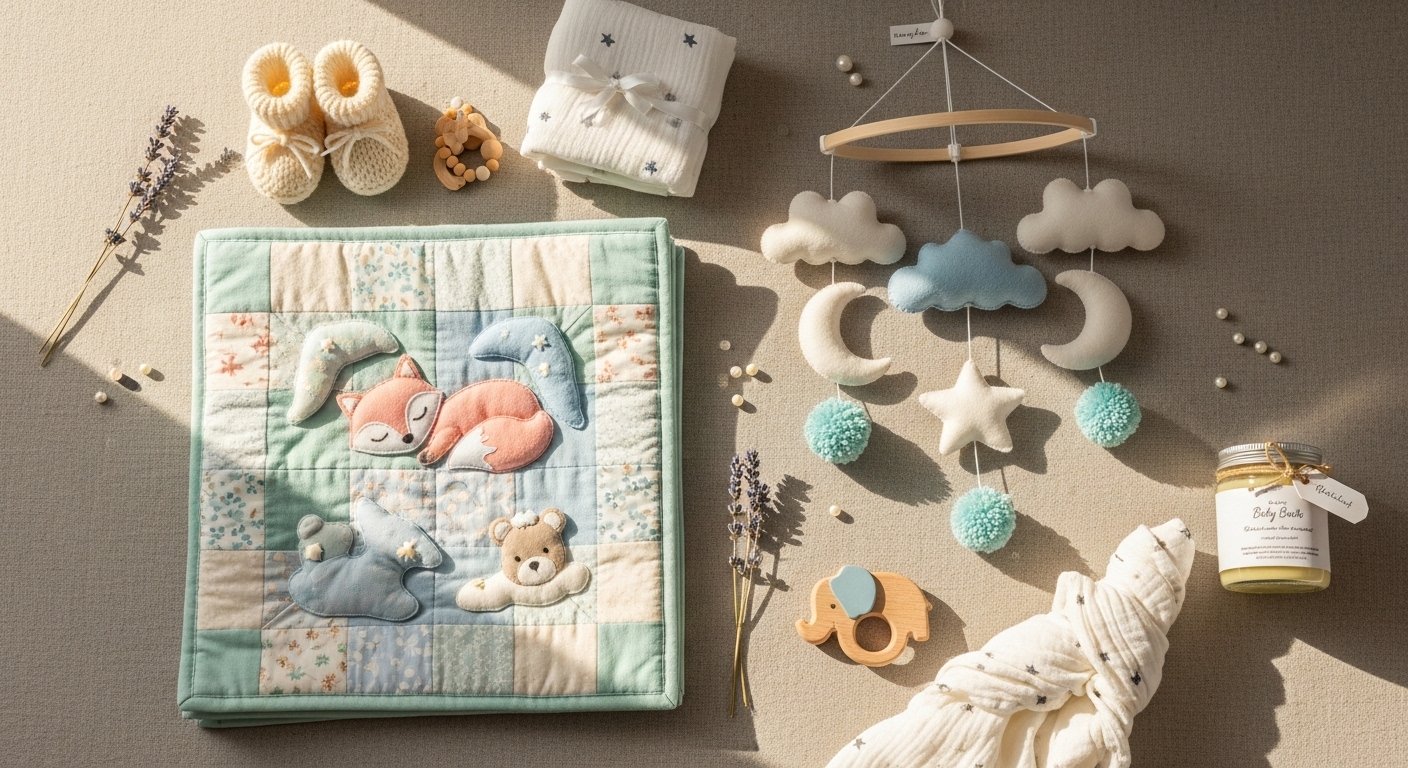
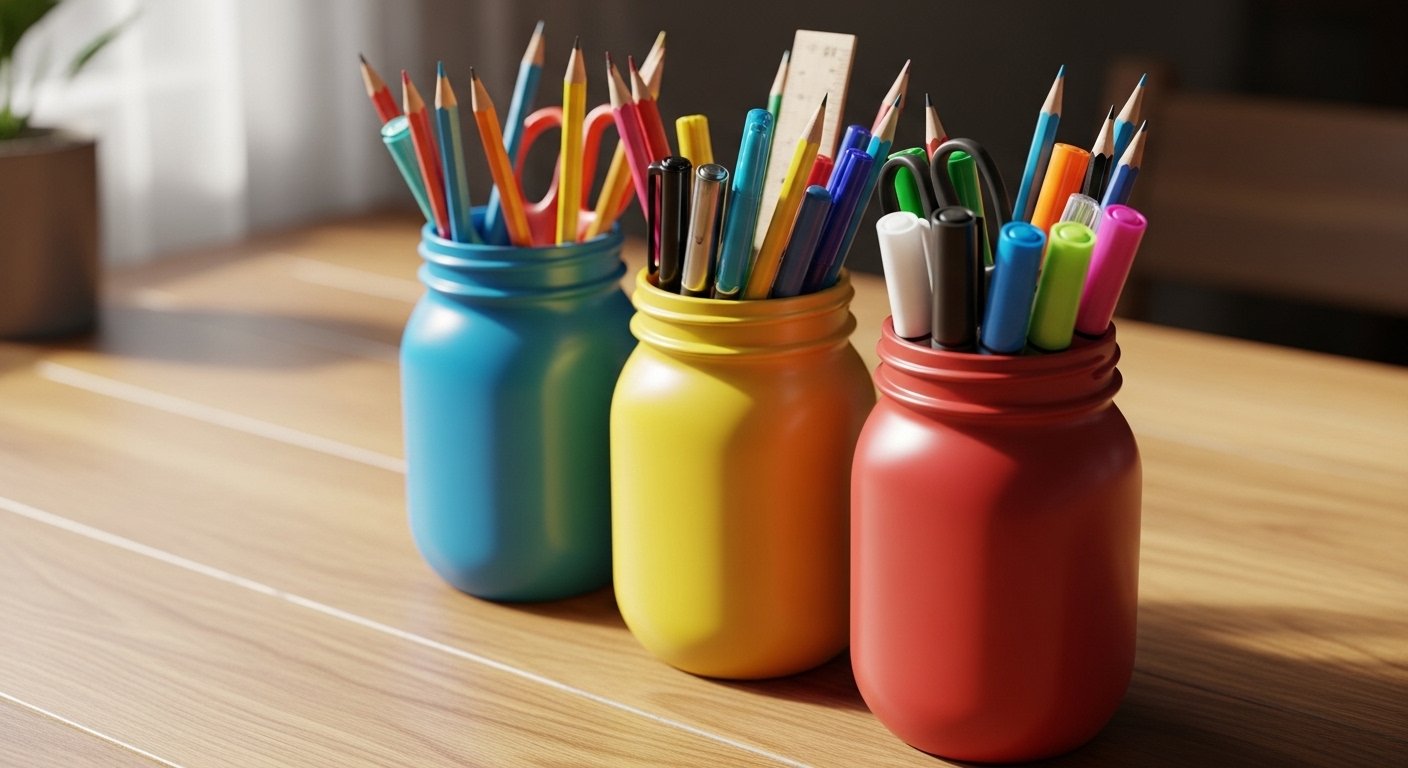
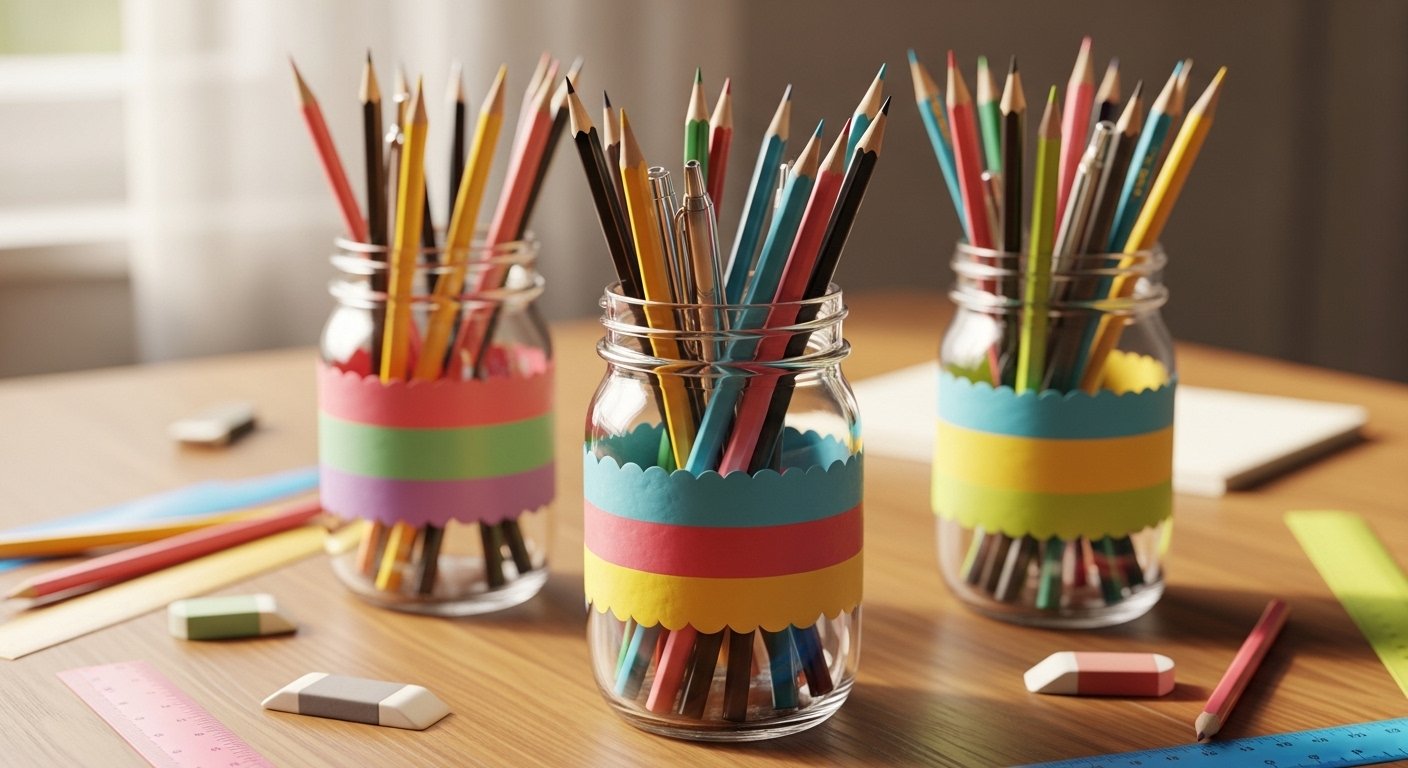
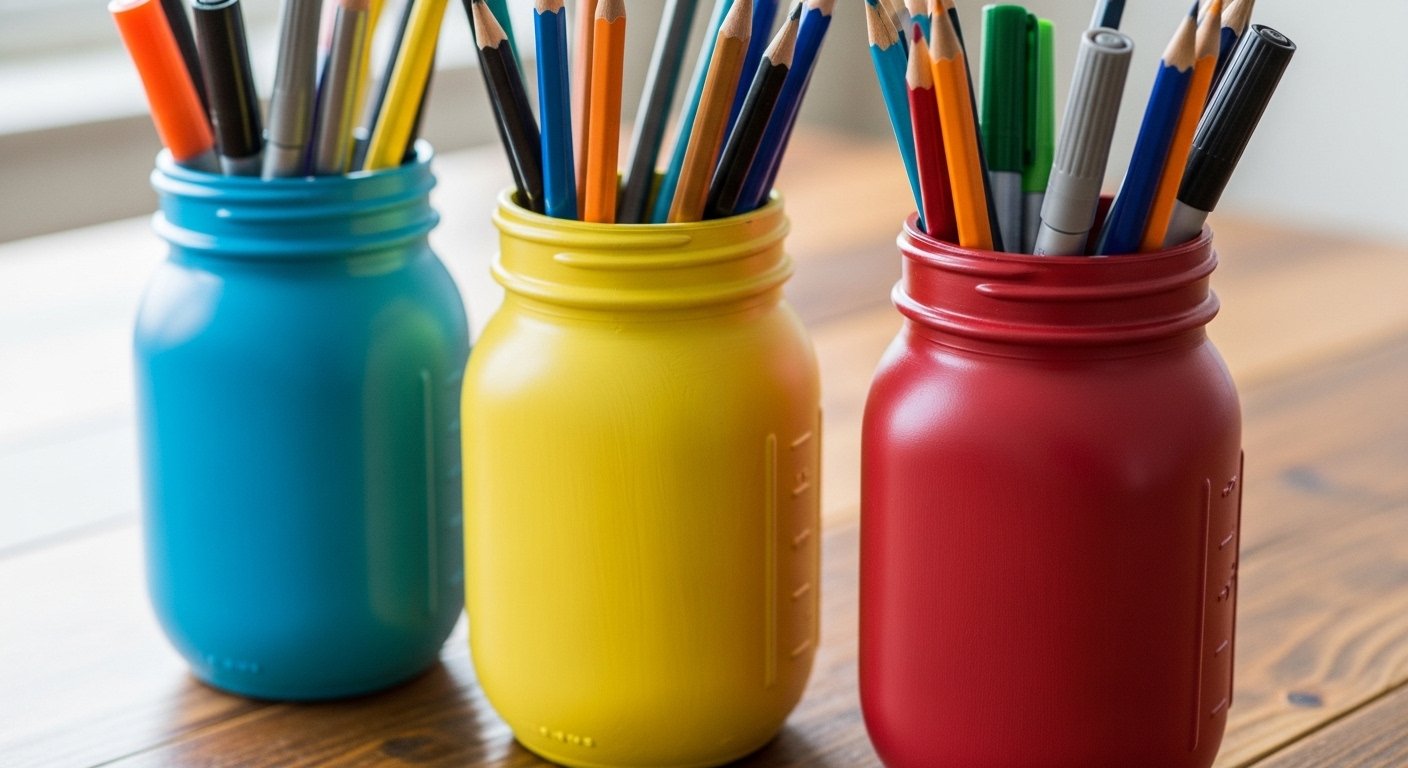
Discover 25 best handmade birthday gifts for best friend aesthetic—unique, stylish, and heartfelt ideas to make their day unforgettable!
View the Makeover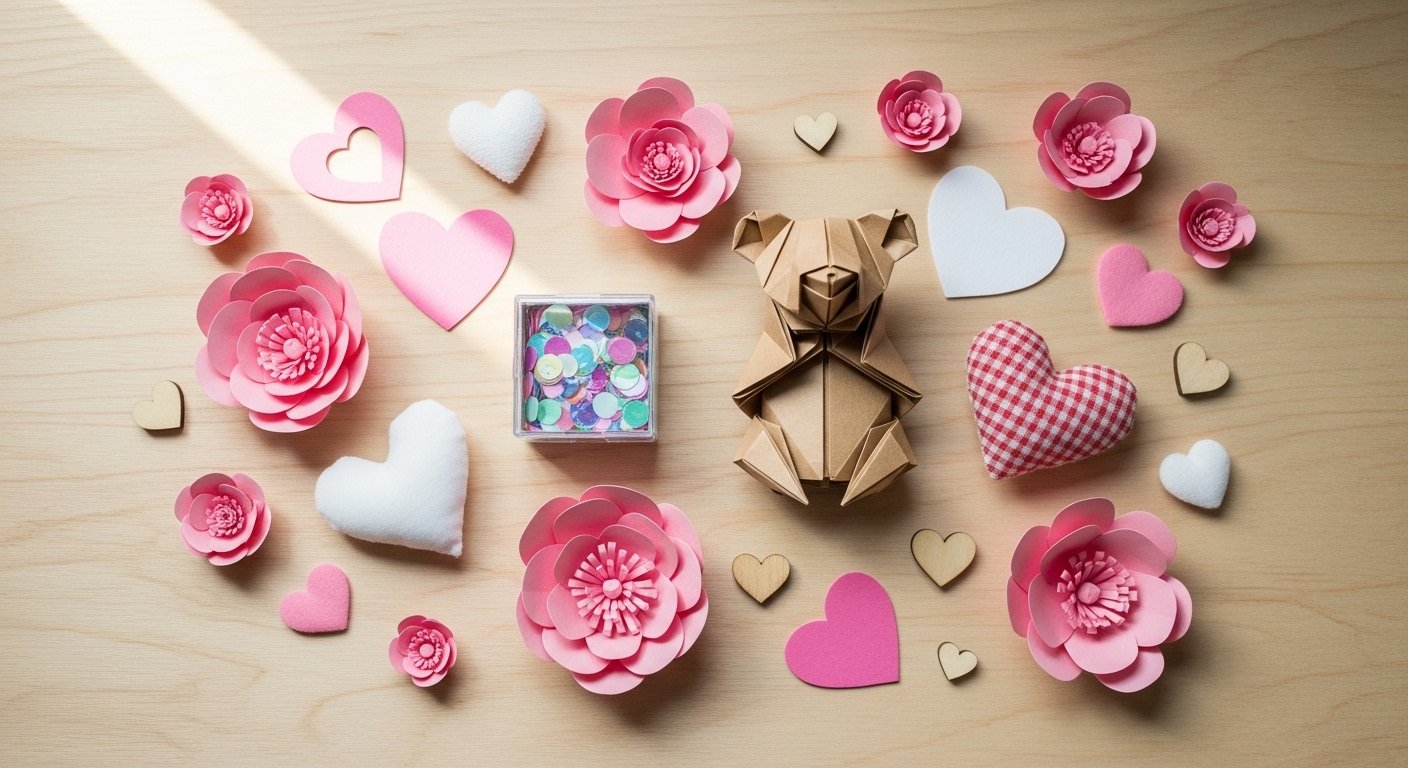


Inspiring beautiful homes through curated DIY decor projects, room styling guides, and budget-friendly interior ideas for every style and skill level.